However as a gamer I want something that looked decent but did not cost a lot of money plus was easy to store. I finally came up with a plan that is inexpensive, it just may take a long time if you want to save some money.
Makes: 6 feet of overapass in approximately 2 foot sections
Requires:
1 2ft x 4 ft MDF board
2 1/2in x 1 1/2in x 8ft length of wood (or similar)
2 1/2in x 3/4in x 8ft length of wood (or similar)
12 deodorant containers
3/4 in long wood screws
Tools:
Saw
Wood Glue
Clamps
Pencil
Tape Measure
Sand Paper
Goo Gone(tm)
Dish Soap
Patience
Bandaids
Safety Goggles
Water for dehydration
A first aid facility within blood loss distance
Directions:
If you have a table saw, cut the 2x4 of MDF into four equal corners (should be slightly less than 1ft x 2ft each due to the blade taking out about 1/8 of an inch of wood. Note: If you have your local DIY store cut it for you, they guy, even though you specifically tell him you must cut down the middle, will screw it up slightly.
Cut the 8 foot pieces to match the length of the resultant boards long ways. They will be the rails and the support on the bottom of the board. I made three sections and had some left over. You will use this for additional detail on the bottom. Strongly recommend you cut and label each section to match its specific MDF section.
Using the clamps and wood glue and after deciding how you want the rails (the 1/2in x 3/4in x 2ishft) lengths to fit, glue them in place.
Let dry 2 hours or overnight (I live in south Texas so they baked in well enough to remove the clamps in just a couple hours. Using the leftover 1/2in x 3/4in sections, I custom cut lengths between the bottom support beams. This provided lateral support so the structure does not eventually start to sag down the middle.
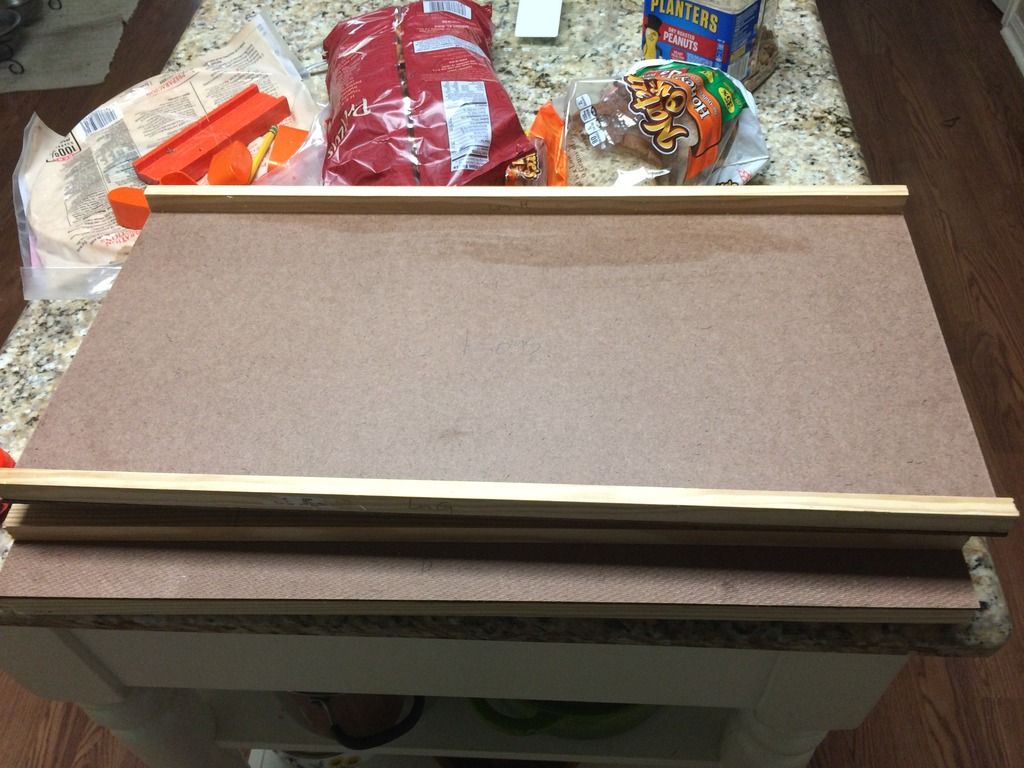
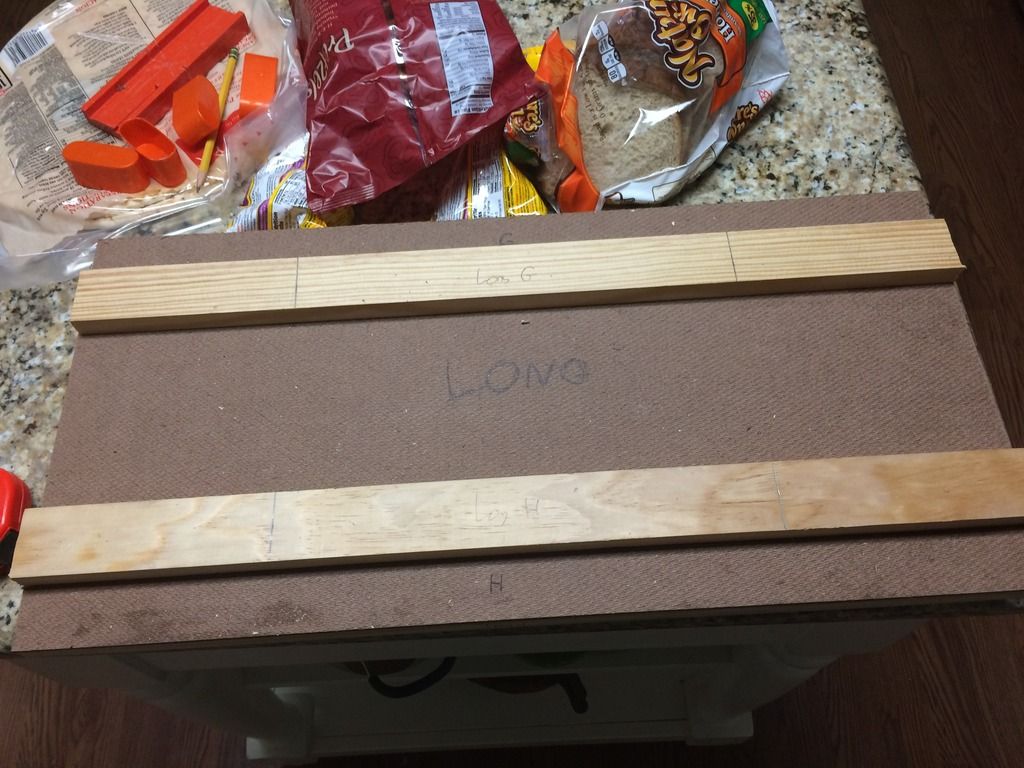
Remove the lids of the deodorant containers. While the sections are drying, peel the stickers off the side of the deodorant containers. Use the Goo Gone to remove the residue. Wash with dish soap and let dry overnight. You don't have to use deodorant containers. I chose so because 1) they resemble the base of the Skyshield in size and shape 2) Using the lids will make them easy to break down for storage-you'll see in a moment 3)My terrain now smells manly, or at least clean. NOTE: Manly smell no significant enough to overpower M:TG players that may be nearby.
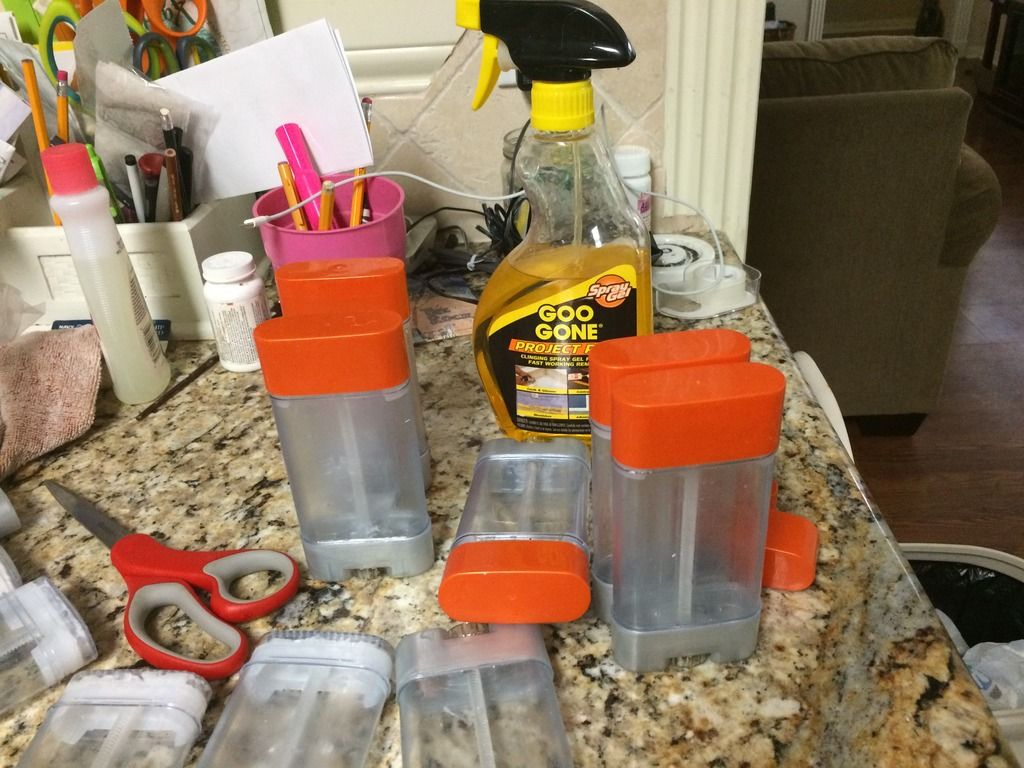
Now that the sections and lids have dried, measure out where on the bottom you are going to want to place the supports. I recommend centering them about 1/2 foot from either edges; the effect looks like the supports are about a foot apart when it is all together, but it also distributes the weight evenly so that your heavier models don't flip the whole thing over.
After laying out and marking the center point, drill holes in your lids, then go back and drill pilot holes in the wood to avoid splitting. You will want to do two holes per lid.
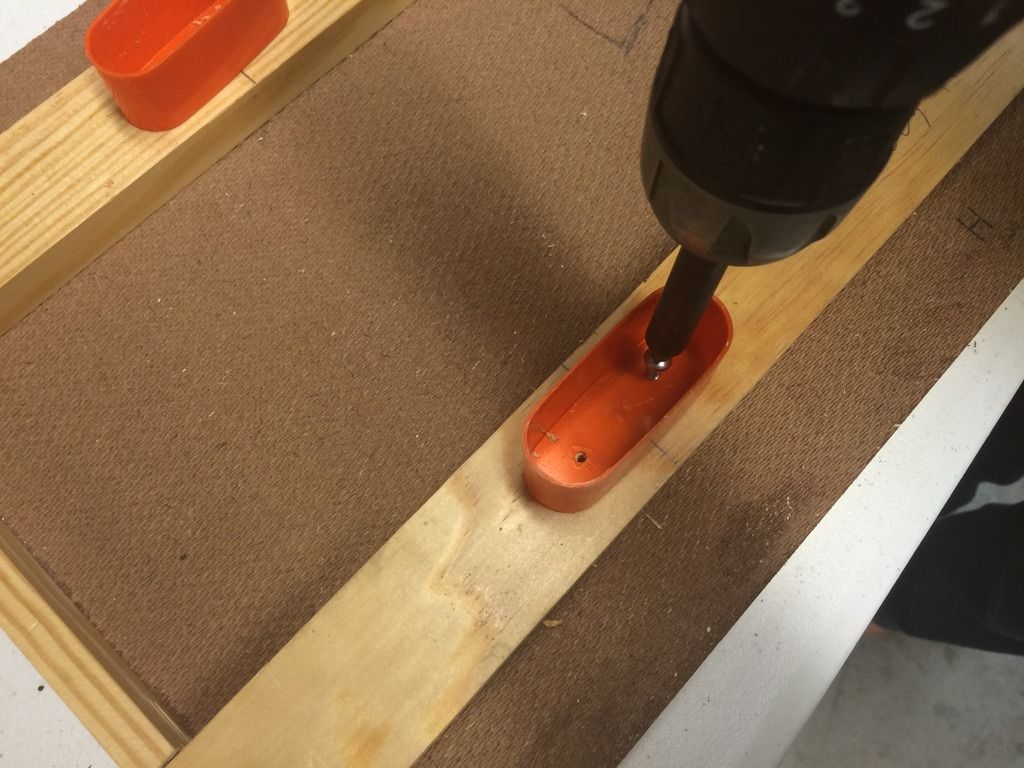
Using the short screws, replace the lids on the holes and screw the lids into the wood. If you feel necessary, you can glue as well but I think for the most part the screws are sufficient to hold it in place.

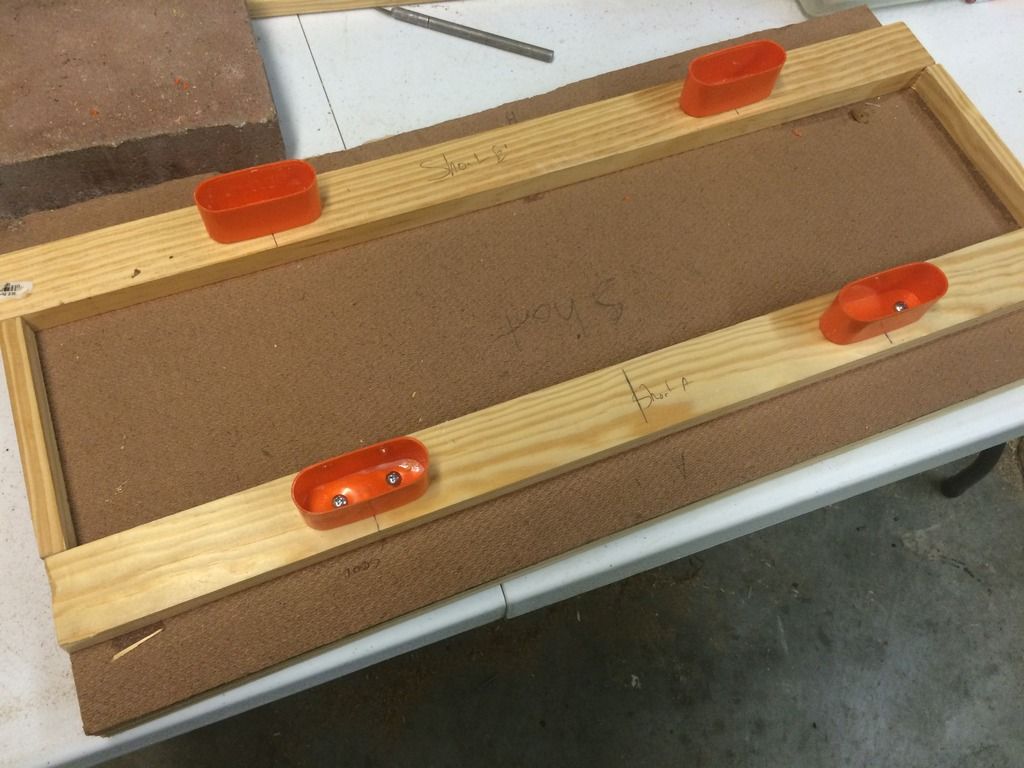
Now you can put the deodorant bodies back into the lids, carefully flip it over (the bodies tend to fall out-after painting this should not be as much of a problem) and viola-you have an overpass. Feel free to bling it up with extra 40K Grimdark Doodads and skullz. Definitely Skulls. You can glue the lids in, but I prefer to leave mine unglued so that I can store them more easily. Use the sandpaper to smooth out any rough areas.
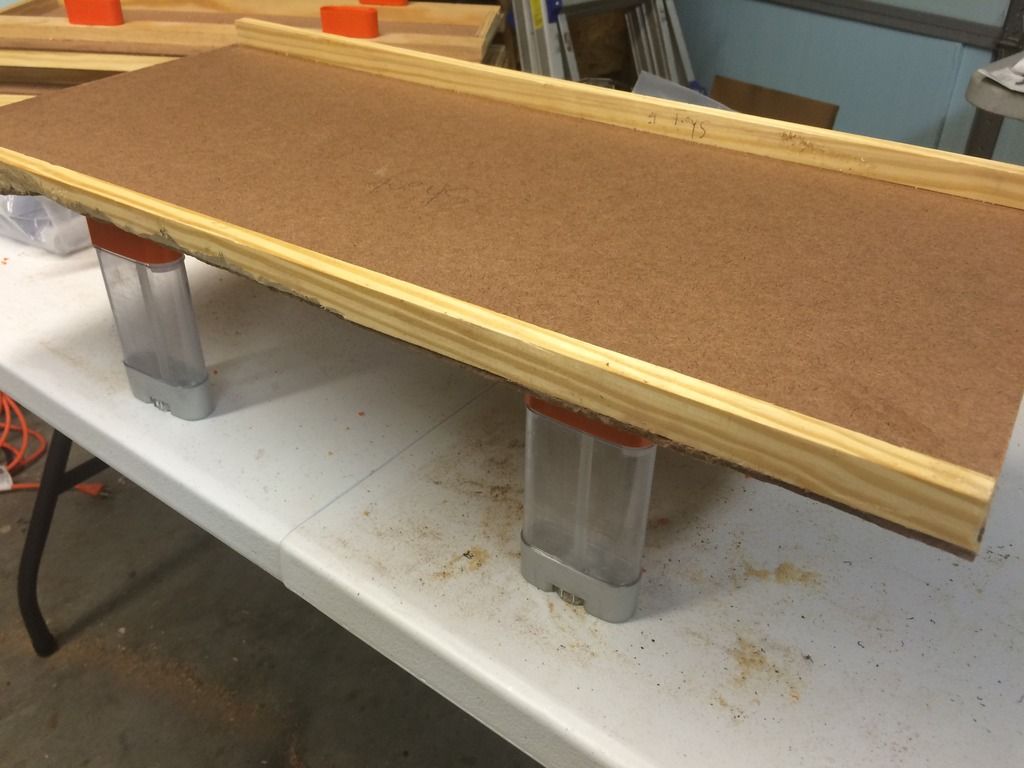
As you can see-they are pretty sturdy and with some paint will brighten up any 40k game. You can make the road portion seem more like asphalt by using kitchen drawer liners or you can paint it with some sort of textured paint. Be sure to add some garbage for character.
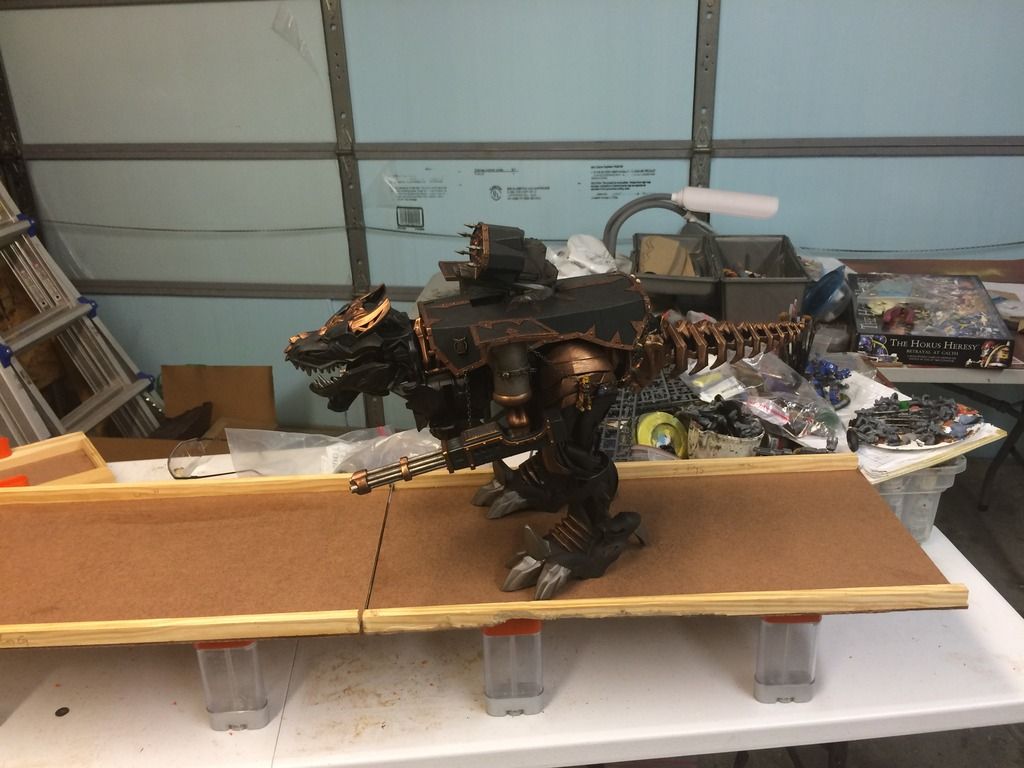
At one point I screwed up with the trimming of the sides. If that happens, get a Dremmel, gouge the area up, and just call it battle damage. It will be our little secret.
I'll update with pics after I get it detailed up and painted.
